 |
| Flat Chasing tools |
 |
| Curved Chasing tools |
 |
| Tools that I will be using to work on my piece |
 |
| Hammers that I will be using from top to bottom Rawhide mallet, Nylon weighted hammer, the other two are chasing hammers |
 |
| Jewelers saw's for cutting out my sheet Sterling. |
 |
| German Red pitch in a bowl with spatula Pattern drawn and cut out of the sterling and placed in a heated bowl of pitch |
 |
| this is how to start the chasing |
 |
| Make sure to use a thin coating of vaseline on the metal before putting it in the pitch! |
 |
| Starting with the chasing tools, start to follow the outline. |
 |
| Outlining |
 |
| Continueing the outline |
 |
| The flowers have been outlined. Now to remove it. |
 |
| Using a heat gun, heat the pitch enough to push the pitch that was formed over the edges of the silver to melt. |
 |
| Melt the pitch just enough to be able to move it off the edges without getting it to hat. |
 |
| Work one area at a time. |
 |
| Using a pliers lift the metal out of the pitch. |
 |
| Notice how clean the back of my piece is. |
 |
| Wipe off the vaseline |
 |
| Notice my piece is no longer flat. |
 |
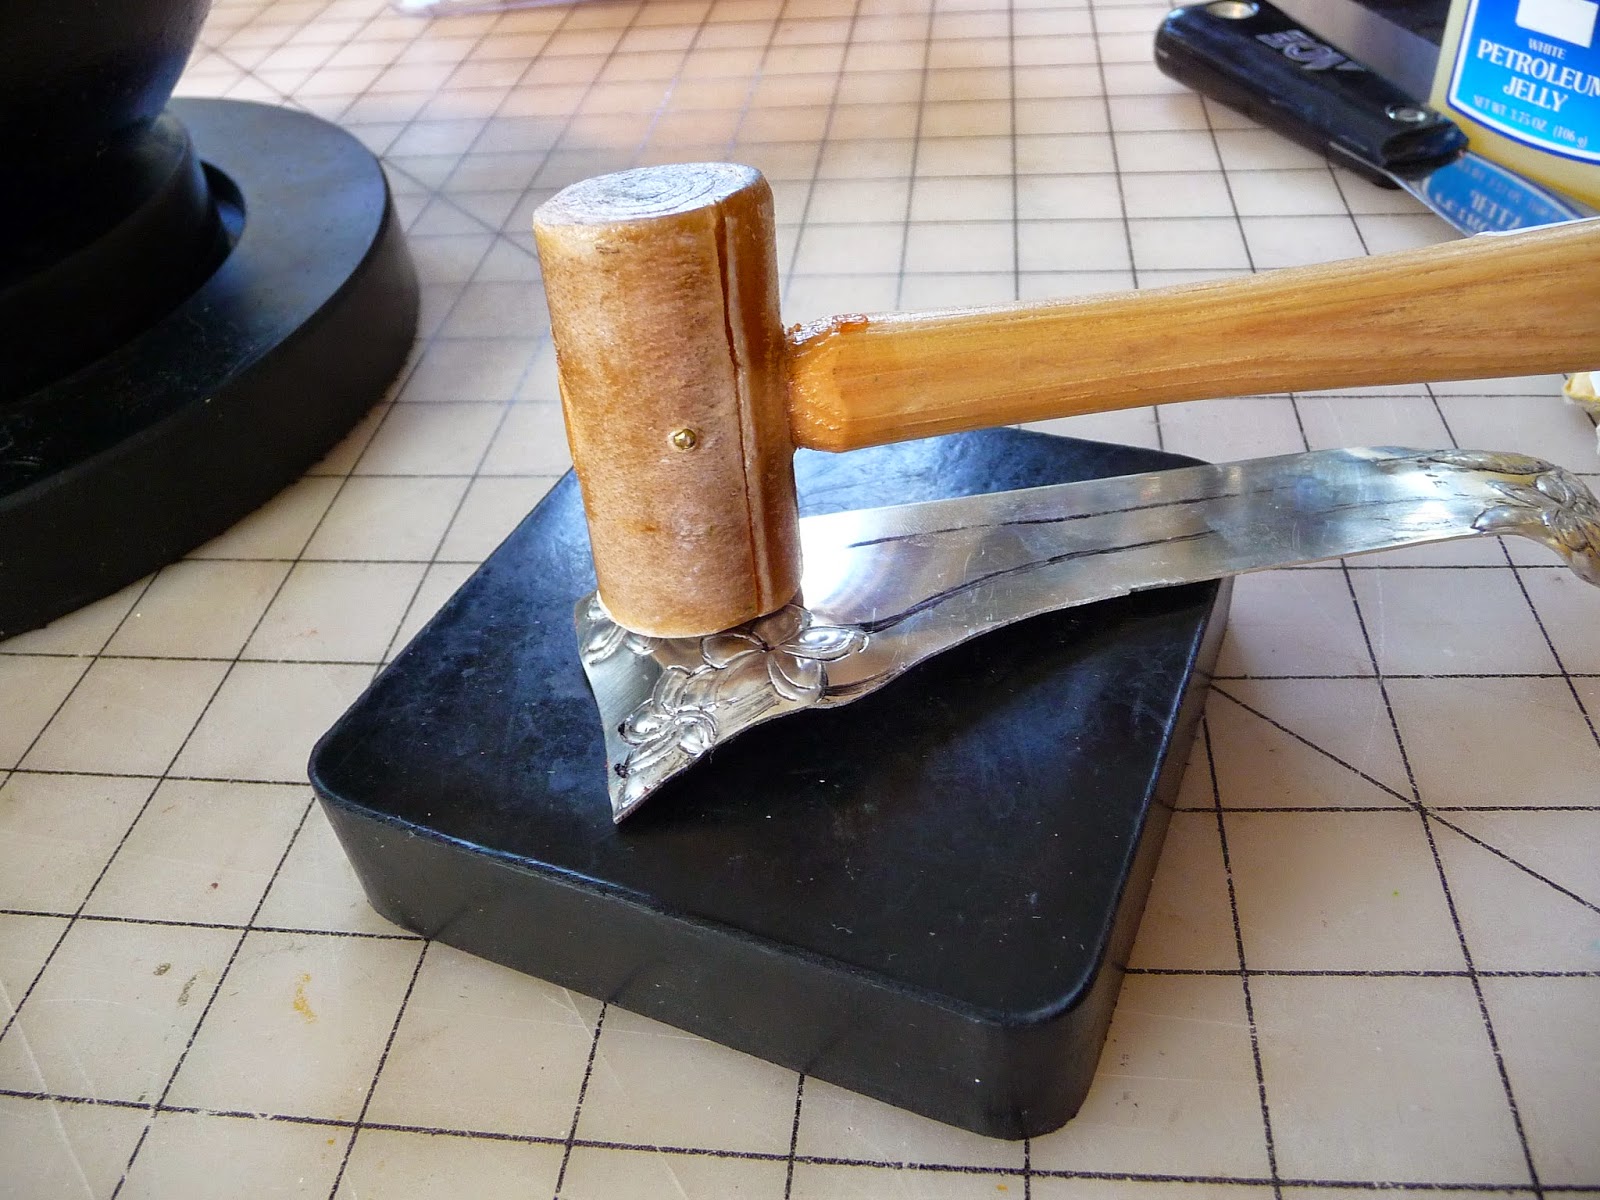
| using my raw hide hammer, carefully flatten your piece around the edges as to not destroy all of the outline that you just did. |
 |
| it should be pretty flat |
 |
| now you can see the impression that the outline made from the back side. |
 |
| this piece will be two 6" bracelets |
 |
| now reheat the pitch |
 |
| and DON'T forget to add the veseline to the front, sides and a very little on the bottom edge. |
 |
| lay it in the heated pitch and gently push the pitch over the bottom edge of your piece. |
 |
| make sure the pitch is not pushed to far over the edge to impede on your pattern |
 |
| My Repousse tools |
 |
| using these tools, I will start to force the metal out into the shape that I desire. |
 |
| Here I am working the edges that I want to look curved out on the petal. |
 |
| Safety Glasses are a must!!! As you can see fro this picture, Pieces of the pitch will go flying out of your bowl. Protect your eyes! |
 |
| here I am working some of the leaf |
 |
| close up on one end |
 |
| here is the other end |
 |
| once again the piece is starting to curve from hammering it |
 |
| on this side the metal is not moving much so its time to remove it |
 |
| here you can see how distorted the metal becomes when it has been hammered |
 |
| flatten it out the best you can without hammering on the parts that are repoussed |
 |
| here I am using a wood dapping tool to help get around some of my work to flatten my piece out more. |
 |
| In between each time you work from the top side to the back side, you will need to anneal your piece so you don't overwork the metal and casue it to crack. |
 |
| Anneal it on both ends More to come! |
No comments:
Post a Comment